 4.9


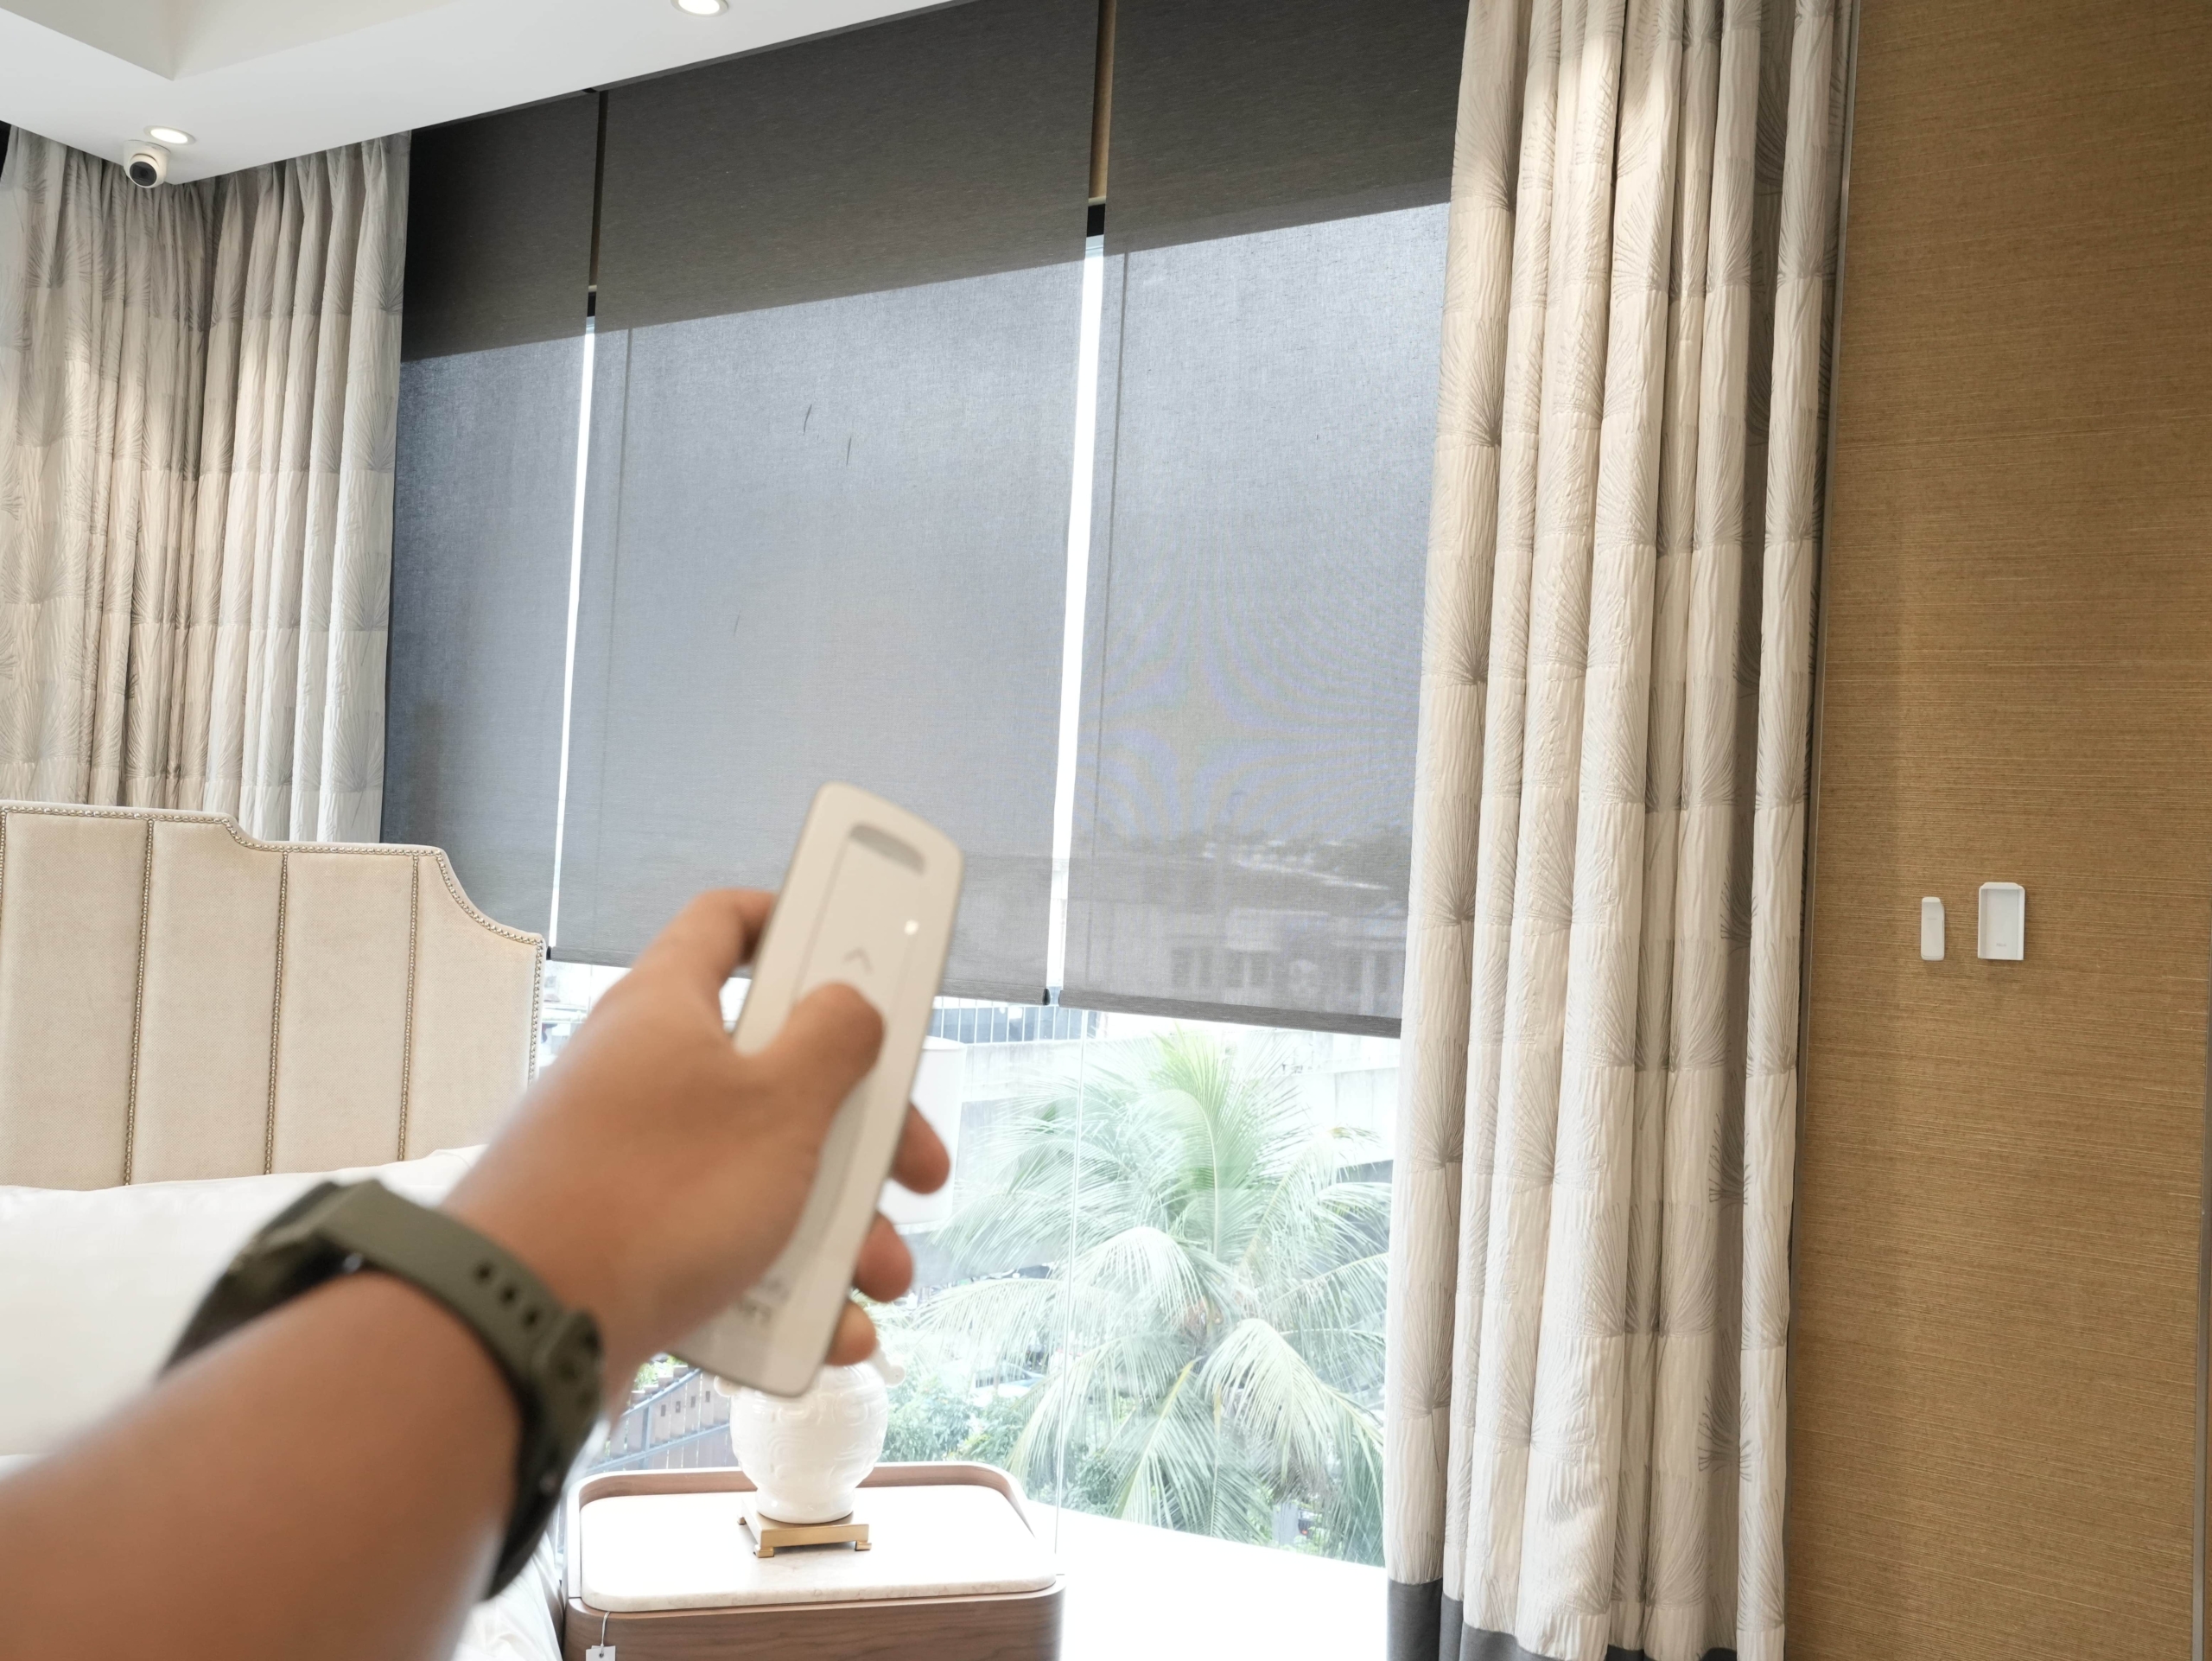
Motorized curtains add comfort, privacy, and energy savings to any home, but their true potential shines when they become part of a smart‑home ecosystem. Connecting your automated window treatments to platforms such as Google Home, Amazon Alexa, or Apple HomeKit lets you schedule openings, sync with sunrise‑sunset cycles, and control everything with voice commands or a single tap. This guide walks homeowners through the entire process—from selecting a compatible curtain motor to wiring safely and linking the device to your favorite smart‑home assistant.
Why Connect Motorized Curtains to Your Smart Home
Integrating motorized curtains into a smart‑home system offers several practical benefits. First, automated opening and closing can regulate indoor temperature, reducing reliance on air‑conditioning in the summer and heating in the winter. Second, you gain hands‑free convenience: a simple voice command like “Hey Google, lower the living‑room curtains” adjusts light levels instantly. Third, syncing curtains with other smart devices—such as lights, blinds, or security cameras—creates coordinated scenes that enhance security (closing all curtains at night) and ambience (gradual sunrise simulation). Finally, remote control via a smartphone app lets you manage windows while you’re away, adding an extra layer of energy efficiency and peace of mind.
Choosing the Right Motorized Curtain System for Automation
The success of any integration starts with a motor that speaks the language of your smart hub. Look for curtain tracks that support popular protocols like Zigbee, Z‑Wave, or Wi‑Fi, because these are natively recognized by Google Home, Alexa, and HomeKit. If a product advertises “compatible with Alexa” or “works with Google Assistant,” it usually includes a cloud API or a local bridge that simplifies pairing. Pay attention to the motor’s torque rating; heavier fabrics or larger windows require stronger motors to avoid stalling. Additionally, verify that the system offers a dedicated app for firmware updates, as keeping the motor’s software current is essential for reliable smart‑home communication.
Step‑by‑Step Integration with Google Home, Alexa, and HomeKit
1. Prepare the motor’s native app. Install the manufacturer’s app on your phone, create an account, and add the curtain motor following the on‑screen instructions. Most apps will ask you to place the device in pairing mode, usually by pressing a button on the motor controller.
2. Enable the smart‑home skill or service. For Google Home, open the Google Home app, tap “Add → Set up device → Works with Google,” and search for the curtain brand. For Alexa, go to the Alexa app, select “Skills & Games,” find the brand’s skill, and enable it. HomeKit users open the Home app, tap “+ → Add Accessory,” and scan the QR code or enter the setup code provided by the motor’s app.
3. Authorize and link accounts. You’ll be prompted to log into the curtain manufacturer’s cloud account; this creates a secure link between the motor and your smart‑home platform.
4. Assign rooms and create routines. Once linked, name the device (e.g., “Master Bedroom Curtains”) and place it in the appropriate room within the smart‑home app. Then set up routines: a “Good Morning” routine could raise the curtains and turn on the lights, while a “Good Night” routine closes them and activates the security system.
5. Test voice commands. Speak a simple phrase—“Hey Siri, open the bedroom curtains”—to confirm the integration works smoothly. Minor latency is normal, but any failure usually indicates a connectivity issue that can be resolved by re‑authorizing the skill or checking Wi‑Fi strength.
Wiring, Power Supply, and Safety Tips for DIY Installation
Even though many motorized curtains are battery‑powered, most permanent installations rely on a low‑voltage AC adapter. Before you begin, turn off power at the circuit breaker to avoid electric shock. Run the power cable through a conduit that follows local building codes; this protects the wire from wear and keeps the installation tidy. Use a dedicated 12 V or 24 V transformer that matches the motor’s specifications—over‑voltage can damage the motor, while under‑voltage may cause it to stall.
Secure the motor housing to the wall or ceiling using the supplied brackets, ensuring it is level to prevent uneven curtain movement. When routing wires, keep a minimum distance of 2 inches from heat‑producing fixtures and avoid sharp bends that could strain the cable. After wiring, double‑check all connections, then restore power and run a brief test cycle to confirm smooth operation.
For added safety, install a small fuse (typically 1 A) on the power line to protect against short circuits. If you are uncomfortable working with electricity, consult a licensed electrician; a professional can also verify that the installation complies with Indonesian electrical standards.
Frequently Asked Questions
Can I control motorized curtains if I have multiple smart home platforms?
Yes. Most modern curtain motors support multiple protocols, so you can link the same device to Google Home, Alexa, and HomeKit simultaneously. Just repeat the linking process for each platform; the motor’s cloud account will manage the connections without conflict.
Do I need a hub to link curtains with Google Home or Alexa?
If the motor uses Wi‑Fi, no hub is required—direct cloud integration is sufficient. However, motors that rely on Zigbee or Z‑Wave will need a compatible hub (e.g., a Google Nest Hub Max with Zigbee, or an Amazon Echo Plus) to bridge the signal to the smart‑home ecosystem.
What maintenance is required after installation?
Periodically inspect the motor’s track for dust or debris that could impede movement. Lubricate the rail with a silicone‑based spray every six months, and run the curtains through a full open‑close cycle weekly to keep the motor calibrated. Finally, check the firmware updates through the manufacturer’s app to ensure continued compatibility with smart‑home platforms.