You just purchased a stunning, high-end chandelier. It looks like a masterpiece in the box. However, the real challenge begins now. If you hang a tiny fixture in a room with five-meter ceilings, the space will swallow it whole. Conversely, a massive crystal piece can easily overwhelm a dining area, making the room feel cramped rather than grand.
Mastering Chandelier sizing requires a blend of geometry and structural engineering. You cannot simply “eyeball” the height in a grand foyer or a high-ceiling living room. Instead, you must apply specific mathematical formulas to achieve perfect balance.
Therefore, we created this guide to help you navigate the complexities of suspension. We will break down the math of proportions, define critical clearance zones, and discuss the vital safety measures you need for heavy installations.
Ready to elevate your home’s lighting game? Let’s dive into the numbers.
The Guide to Sizing for High Ceilings
1. The Golden Ratio: Mastering Proportion Math
Designers never guess the size of a light fixture. Specifically, they rely on the “Golden Ratio of Lighting” to ensure the piece anchors the room correctly.
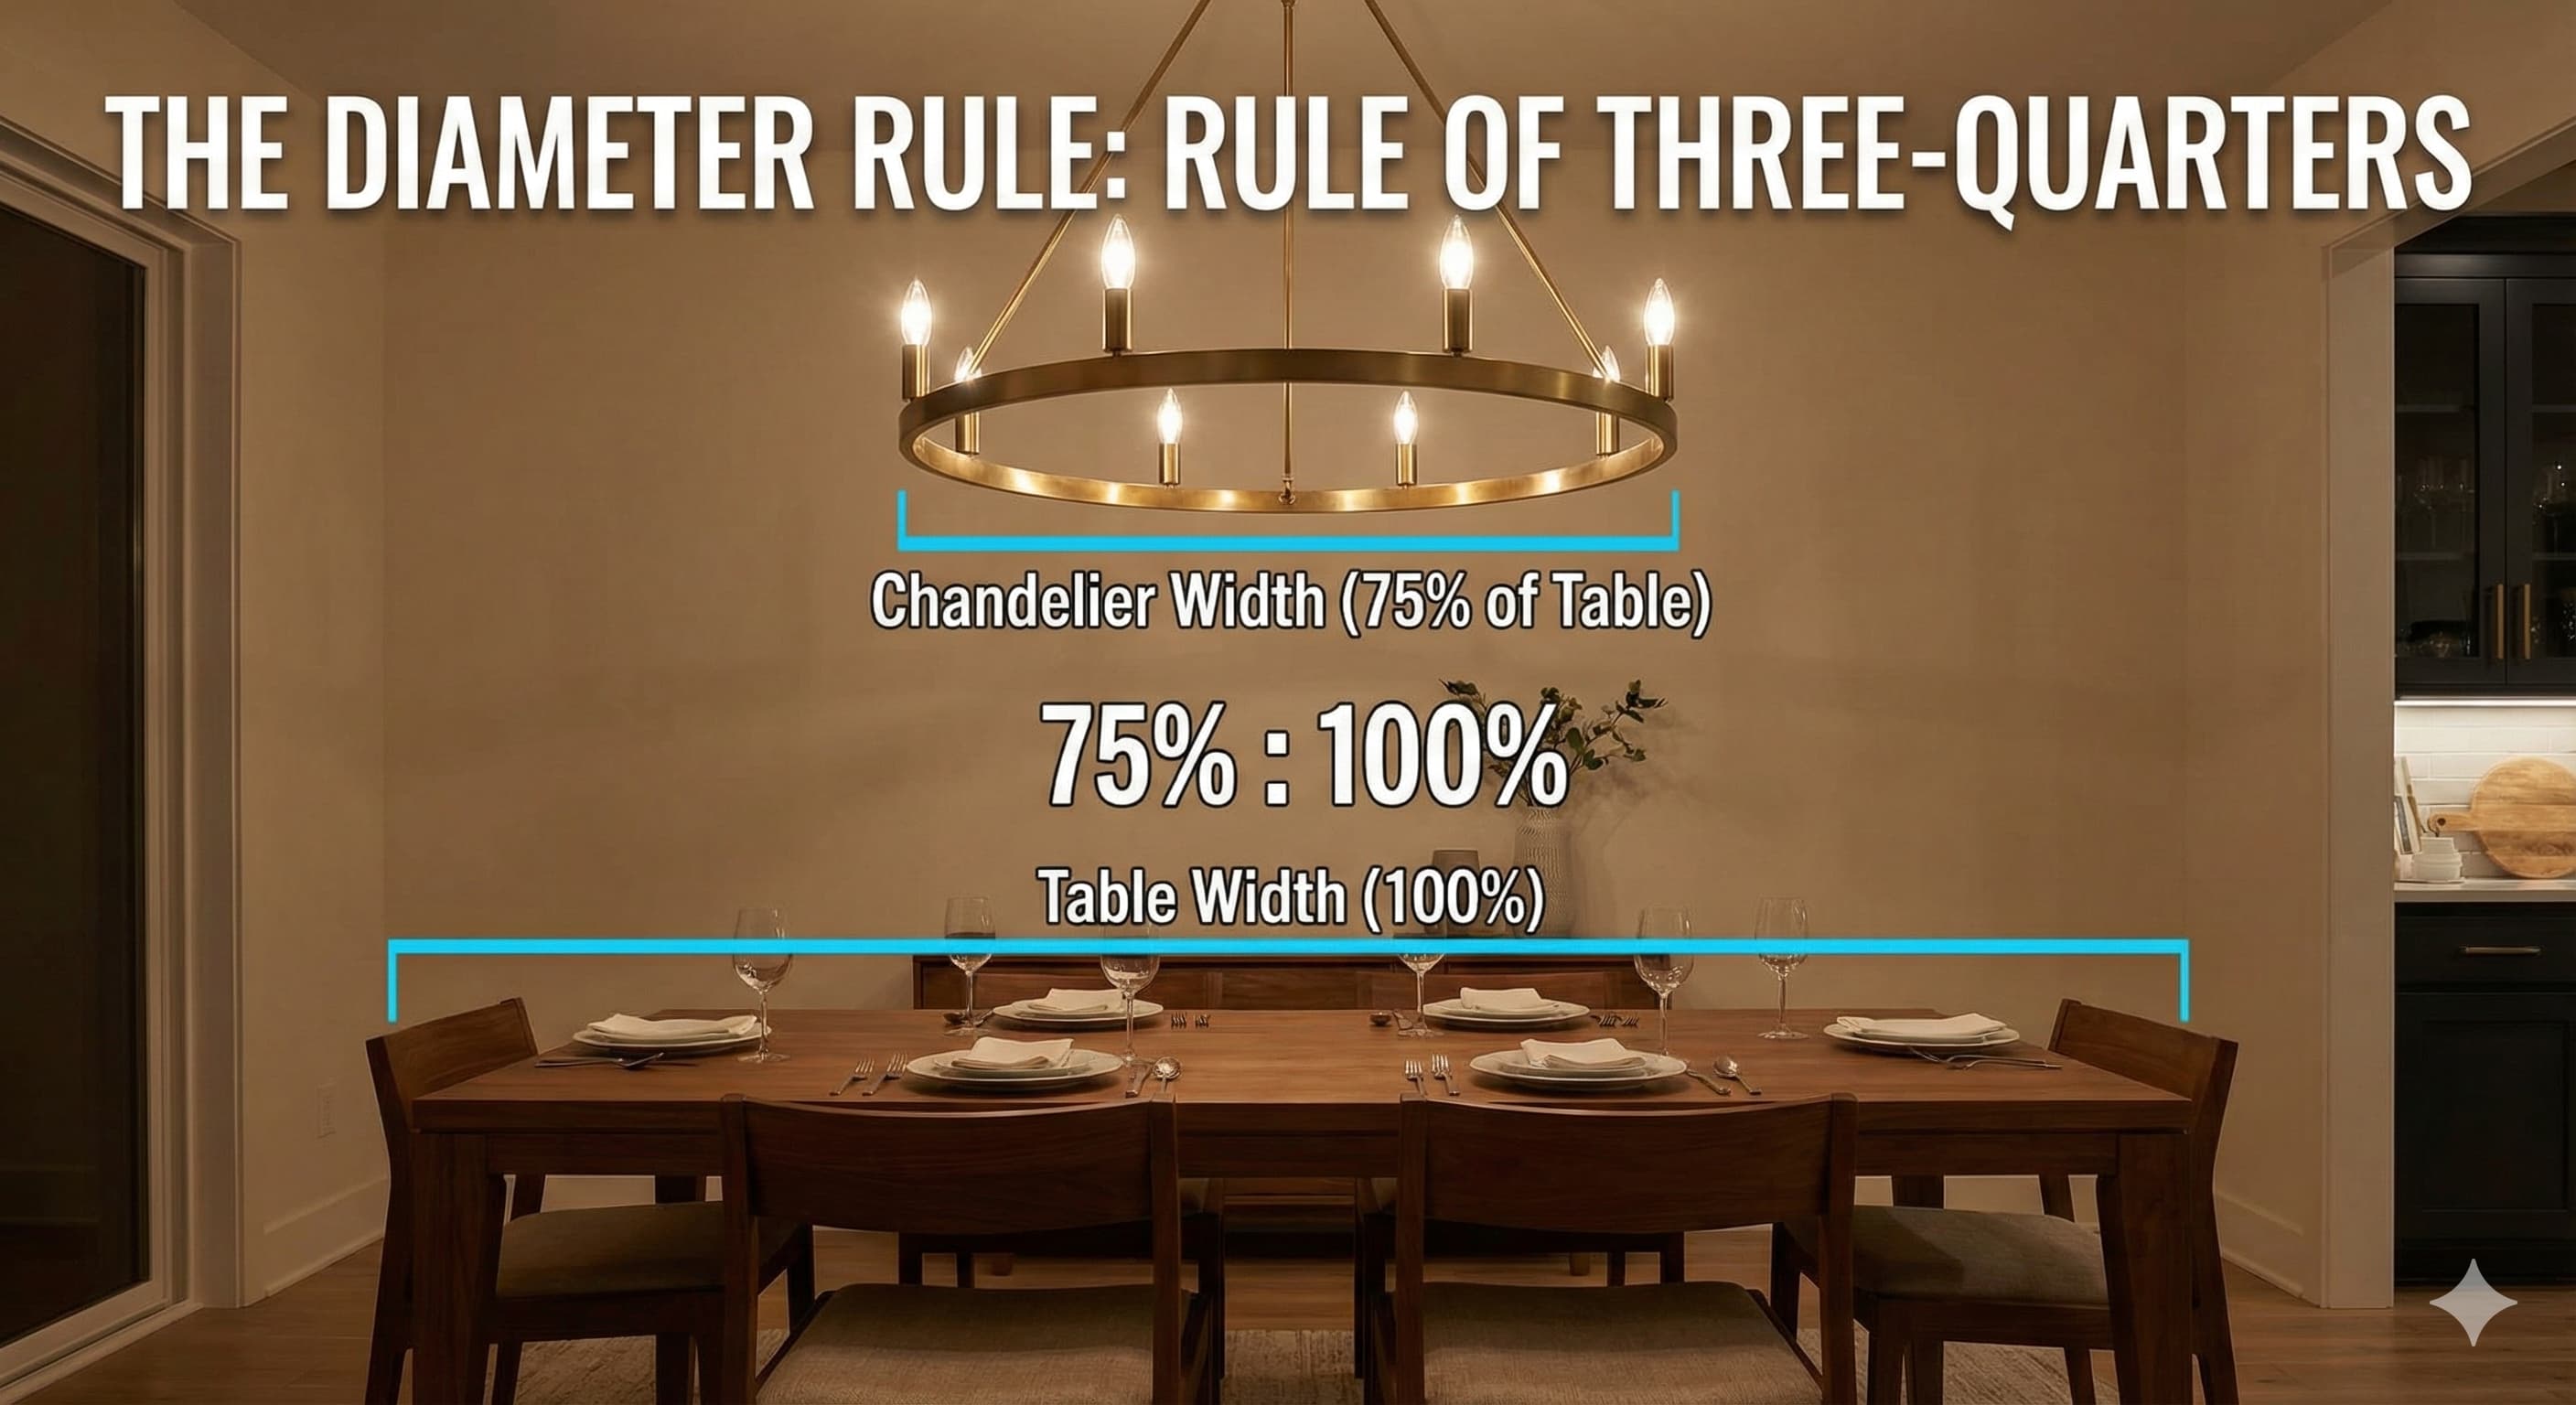
The Diameter: The Rule of Three-Quarters
When you hang a chandelier over a dining table, you must relate the light to the furniture, not the walls. Typically, you calculate the ideal width by measuring your table’s width.
-
The Formula: Select a fixture with a diameter between 1/2 and 3/4 of the table’s total width.
-
Consequently, a 120cm wide table demands a chandelier between 60cm and 90cm wide. This ensures the light covers the dining area without making guests feel like the fixture might fall into their soup.
The Vertical Drop: The Ceiling Formula
High ceilings demand “Vertical Presence.” A flat light looks like a postage stamp on a giant wall. Thus, you must calculate the fixture’s height based on the room’s total height.
-
The Formula: Allot 2.5 to 3 inches of chandelier height for every 1 foot (approx. 30cm) of ceiling height.
-
For example, if you possess a 12-foot (3.6m) ceiling, you need a fixture between 30 and 36 inches (76cm to 91cm) tall. Ultimately, this fills the vertical void and creates a balanced silhouette.
2. Clearance Zones: Avoiding the “Head-Bump” and the “Glare”
Mathematical beauty means nothing if your guests keep hitting their heads. Therefore, you must respect the Clearance height zones.
-
Over the Dining Table: Aim for a gap of 30 to 36 inches (76cm to 91cm) between the table surface and the bottom of the chandelier. By doing this, you keep the light out of the diners’ eyes while maintaining an intimate atmosphere.
-
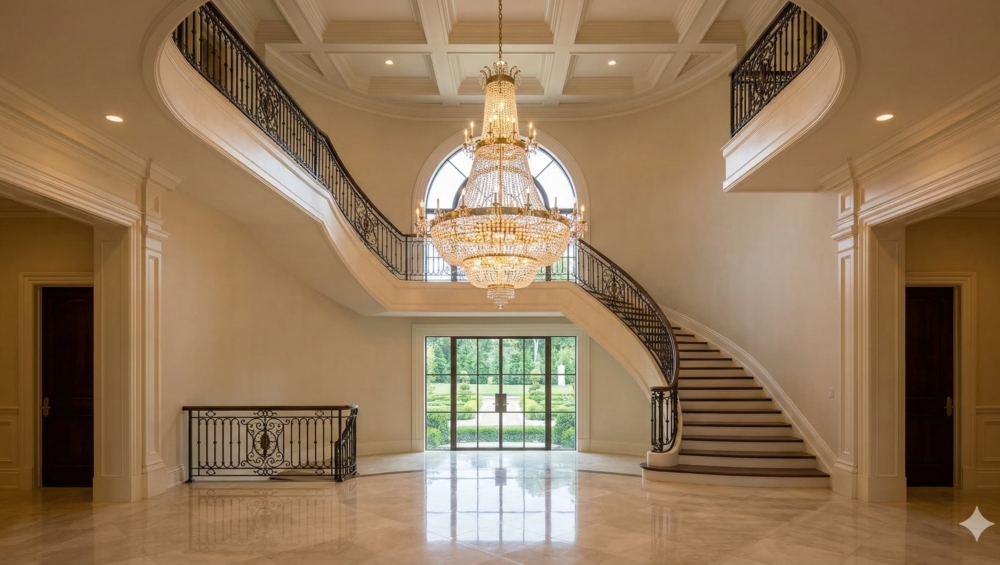
In Foyers and Walkways: You must maintain a minimum of 7 feet (2.1m) of clearance from the floor. Furthermore, if you have a grand double-height entry, try to align the chandelier with the second-story windows. Consequently, the house glows beautifully from the outside at night.
3. Visual Weight vs. Actual Weight: The Analytical Split
Here is where we distinguish between aesthetics and engineering. You must consider both Visual weight and physical mass.
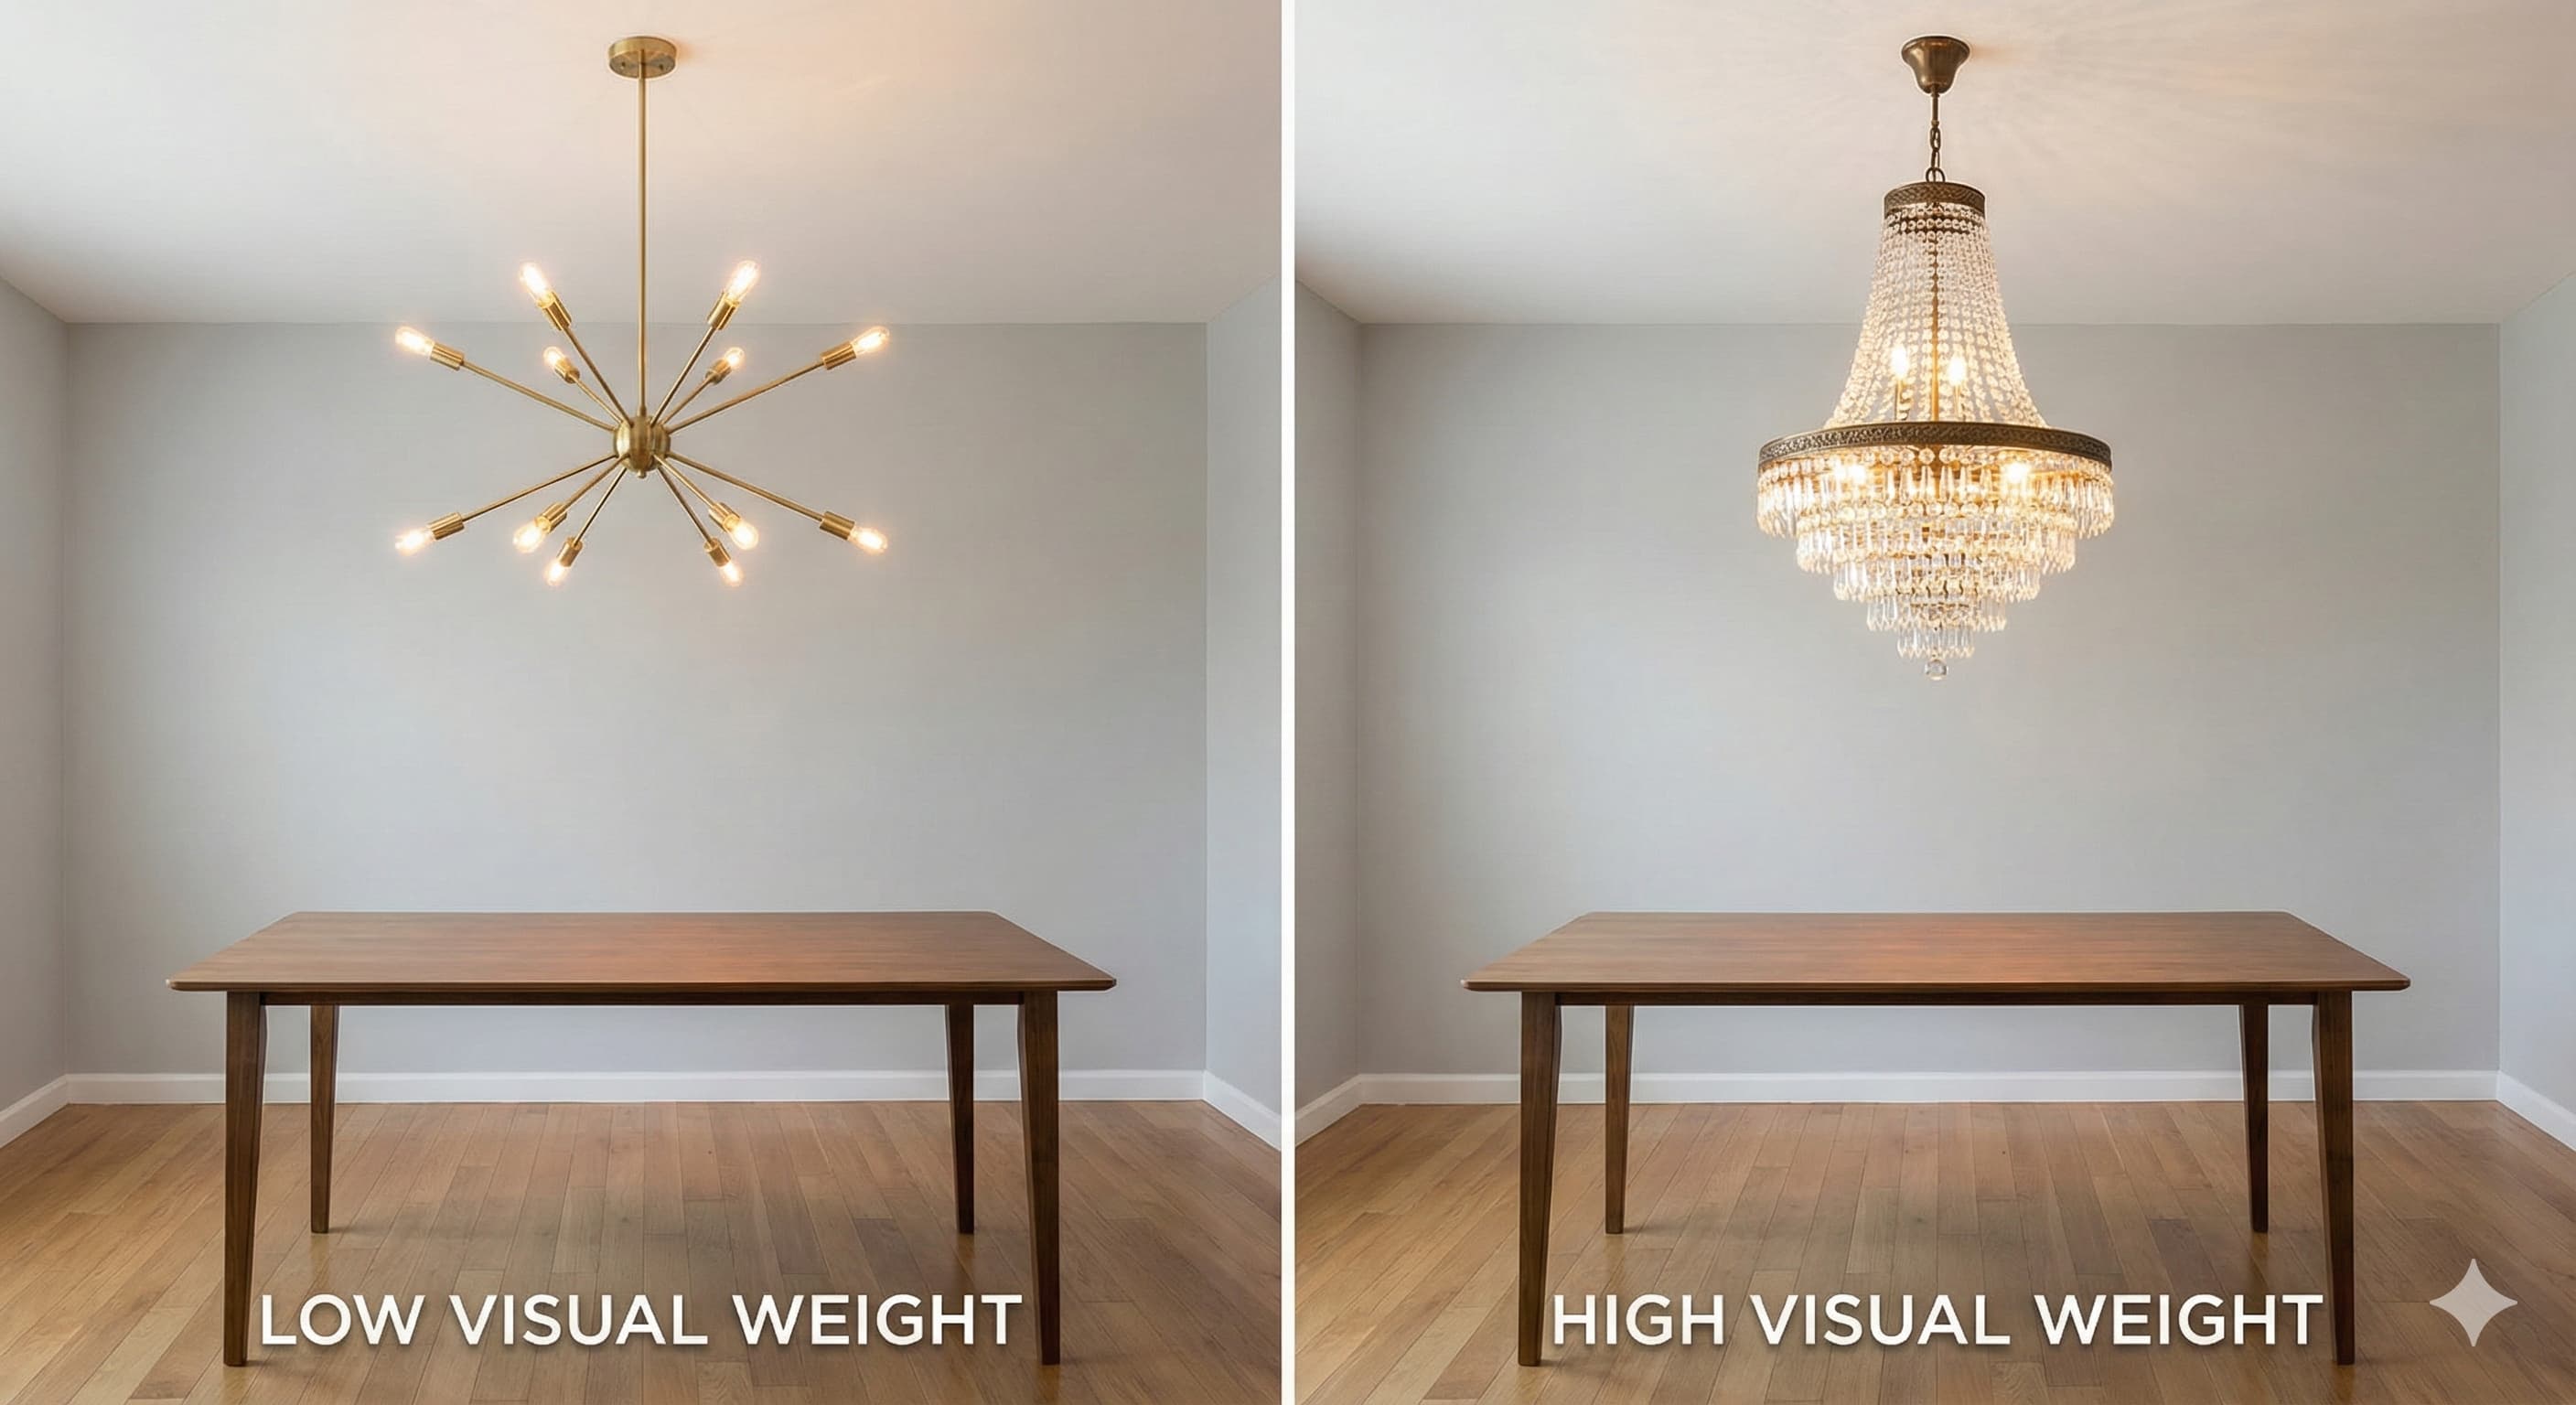
Visual weight refers to how “full” a lamp looks. A chandelier with a thin, airy wire frame possesses low visual weight. In contrast, a solid brass or tiered crystal piece possesses high visual weight. Specifically, high-ceiling rooms often require high visual weight to anchor the space. This affects the Luminous flux distribution, as dense fixtures often soften the light, while airy ones create sharp, dramatic shadows.
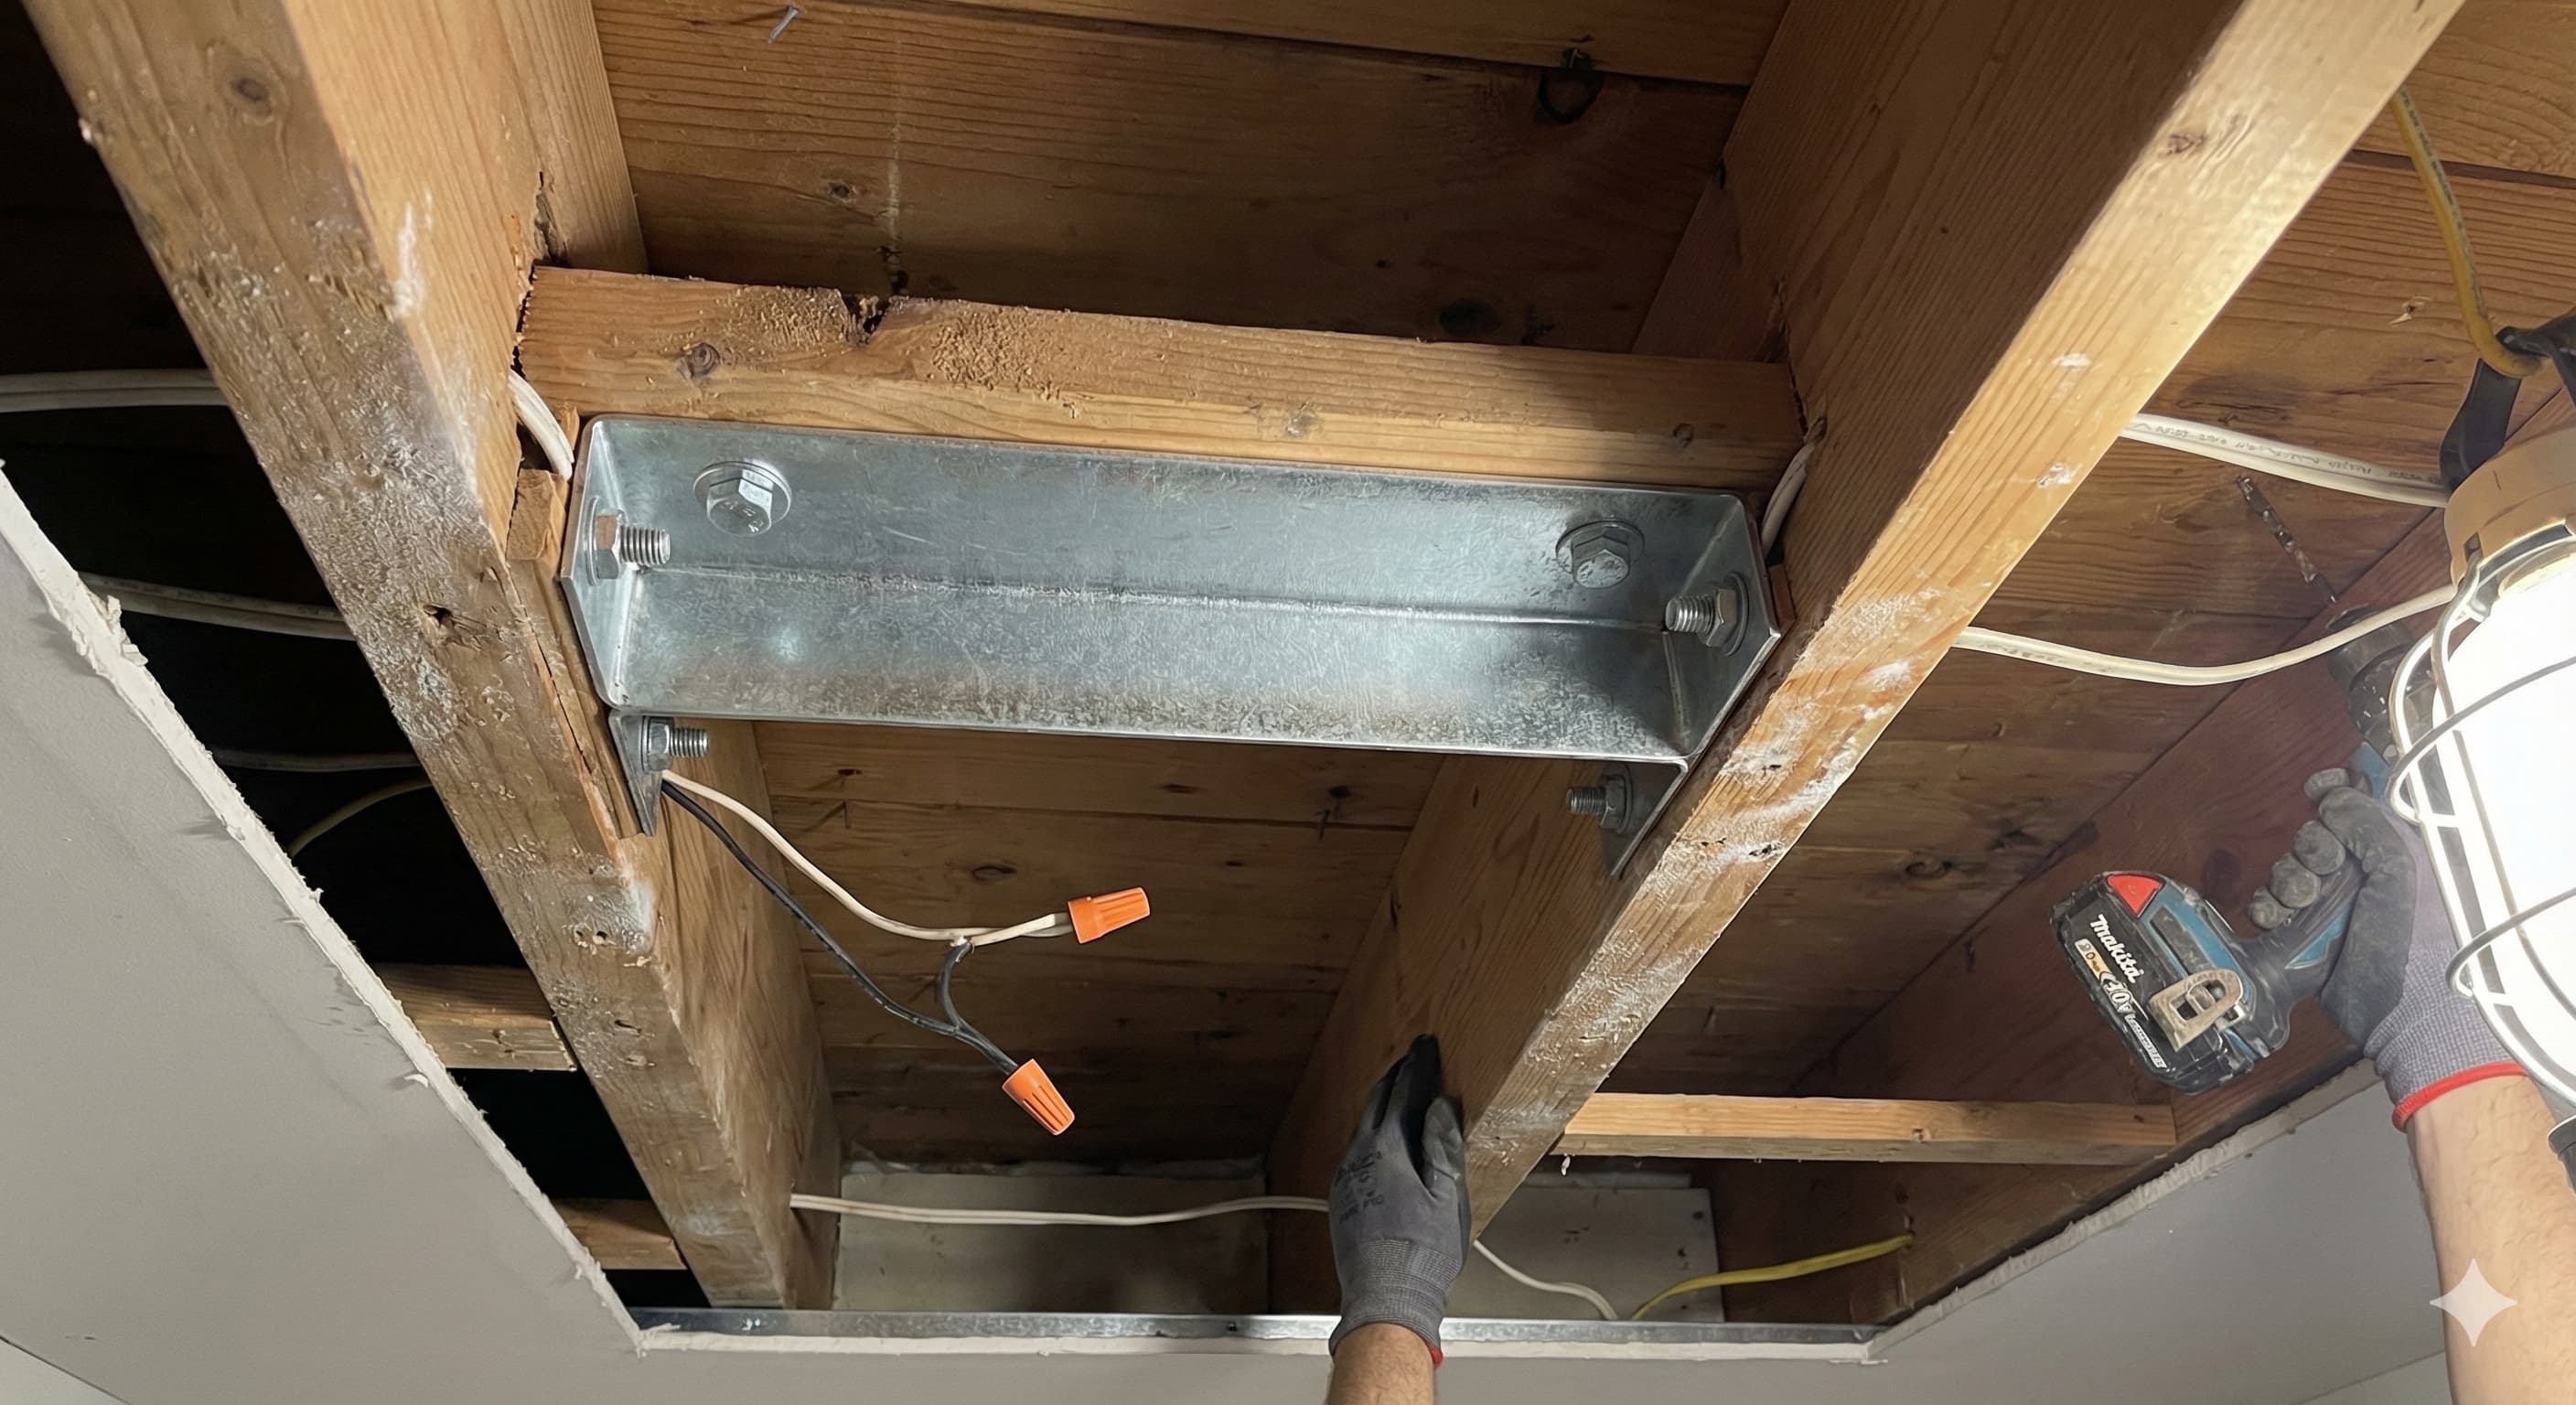
Actual weight, however, dictates your safety. Luxury chandeliers often exceed 10kg (22 lbs). Unfortunately, a standard plastic electrical box cannot support this mass. Thus, you must install Structural reinforcement—usually a heavy-duty metal brace or a wood block attached directly to the ceiling joists. Never skip this step. A falling chandelier causes catastrophic damage and poses a massive safety risk.
Conclusion: Trust the Process, Not Just Your Eyes
Hanging a chandelier in a high-ceiling home represents a major design milestone. Ultimately, success depends on your willingness to follow the math. By balancing the diameter, respecting clearance zones, and reinforcing your structure, you ensure your home looks sophisticated and stays safe.
So, grab your tape measure and start calculating. Your dream interior is only a few inches away.